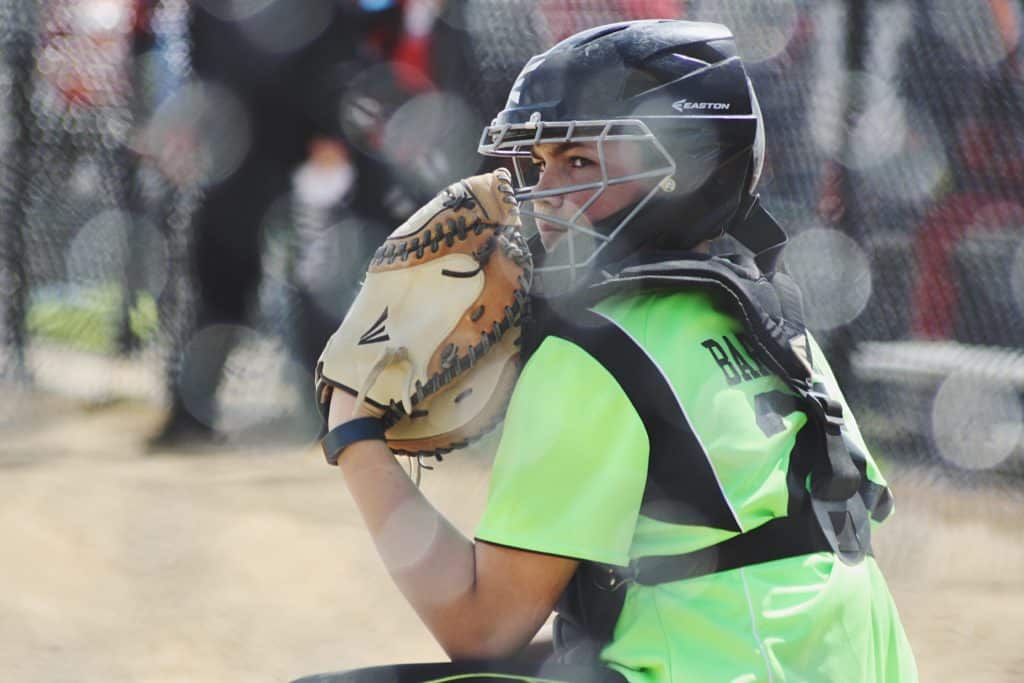
Any serious baseball or softball player has a glove they absolutely love. You know the type I’m talking about. A glove so cherished it feels like a family member. It catches anything hit your way, it’s got a pocket deeper than the Mariana Trench, and it fits like … well, a glove 🙂🧢 A good glove is like an extension of your arm – it’s exactly where it needs to be, almost like magic.
But what happens when you’ve played so many innings that your glove starts to fall apart?
If you have a favorite glove with frayed or torn laces, don’t worry! It’s incredibly easy to save your glove from the trash and keep it on your hand for hundreds of more innings to come!
Table of Contents
Why Relace It?
Many shops will charge over $100 to relace a glove. That’s highway robbery!
In addition, many of our competitor websites don’t want you to actually relace your glove! There are countless sites out there with “guides” covered in ads telling you to spend $75+ on a new glove.
A NEW GLOVE that will take years to properly wear in AND costs more?

Instead, for less than $10, you can extend your current glove’s life by another decade! That trick unfortunately doesn’t work with our pets, but it works wonders for our ball gloves!
Tools for Re-Lacing a Baseball Glove
I wasn’t kidding when I said lacing your glove doesn’t take much of an investment. After personally stitching and lacing my glove many times over, these are all the tools you could ever need.
Must Have Tools
- New laces (duh!)
- Lacing needle
- Handled pull needle
OR
That’s it! Depending on the difficulty of the glove and the lacing, you may also find the following items helpful.
Helpful Tools
- Leather Conditioner – Helps slide laces into the holes easier. Also, conditioner should be applied to the glove regularly, as it helps to protect the leather from cracking and losing its color.
- Needle nose pliers – Only if you can’t afford a proper needle. If used incorrectly, pliers can severely damage a glove!
- Scissors or knife – Used to cut the excess lace at the end.
Our Tool Suggestions
Laces – Most baseball or softball gloves have 5 lacing sections: fingers, webbing, thumb, pal, and heel. Regular 3/16″ wide leather lace is standard in most gloves and 72″ in length is enough lace for a repair. Some gloves, us smaller 1/4″ in the web, thumb, or fingers, so make sure to check your old lace and see if it’s all the same size.
Note, if you’re relacing a large catcher’s mitt or first baseman’s glove, you might need an extra or longer roll of lace.
As for what laces or color, it’s 100% a personal choice. You can honestly use any high-valued leather lace and sometimes those come with a free threading needle!
Glove Lacing Needle – While some of the tools below are optional, a lacing needle is key, particularly a specific leather lacing needle. These have a threaded opening on one end that allows the lace to be securely threaded. Sometimes, depending on the make of the glove, you’ll find a handled pull needle better gets the laces through the glove holes.
For the frugal repairer, any old pair of needle nose pliers will get the job done. You’ll want to be extra careful while using pliers though! 😬
Don’t forget, you’ll want leather conditioner and a cutting tool! I personally use Wilson’s Pro Stock Glove Conditioner and love it.
Plan the Relacing
If you’ve been on a diamond enough, you’ve probably noticed there are infinity different lacing patterns of baseball gloves. As such, when relacing your glove, it’s best to follow the original lacing pattern. That means, before you make a single cut, take some photos of your glove’s original lacing pattern. Heck, use your smartphone and record a video of every angle and part of the glove.
If the lacing pattern looks complicated, make a diagram and number the holes. Study the pattern carefully and make sure you understand which way the lace pattern goes. If you’re new to relacing, it’s recommended to lace one section at a time, so as not to get lost.
While this might sound daunting, I promise it’s easy! You just need to take your time, be patient, and follow your photos or videos to relace the glove properly.
Step-by-Step Lacing Guide ⚾
1. I just told you, plan your relacing. Every glove is different and relying on your memory alone is a fool’s errand. Properly planning your relacing is arguably the most important step of all!
2. With your glove conditioner, pre-treat the leather lacing before you start to relace it. This makes it easier to thread and work with. Apply the conditioner to a clean cotton swab (an old, white t-shirt works in a pinch if you never want to wear it again!) and liberally it into the leather. Wipe off any excess with a cloth. Feel free to apply more conditioner onto the glove as well once all of the old laces are removed.
3. If necessary, with your scissors or wire cutter, remove one old section of the worn lacing. It’s best to remove just one section at a time, leaving the other old lacing in place temporarily. It’s also a good idea to take some photographs of the glove or even a video, before you start to remove any laces. This just helps guide you through the lace replacement process in case you need help remembering the original pattern.
4. Insert the needle through the hole of the glove, but it goes in the opposite way of the lace. For example, to put the lace in from left to right, put the needle in from the right side, so it comes out of the glove on the left.
5. Now you need to thread the needle, but be careful not to twist the lace. Trim the end of the lace at an angle then put it through the eye of the lacing needle. Tie a simple over-hand knot at one end of the lace. Make the knot as tight as possible.
6. With the lace now threaded and knotted, feed the needle and lace through the hole. It might need some force and a bit of twisting to achieve this. Also, the first few holes will be the hardest to tackle. Leave yourself enough room to be able to grab the lace, so pull it back enough to allow this.
7. Make sure the smooth side of the lace is on the outside of the glove as you relace the glove.
8. Repeat this threading process by pulling the lacing all the way through the holes. Duplicate the original lace pattern. Without changing the shape of the glove, be sure to pull the lacing as tight as you can. Leather lace tends to stretch and loosen over time, so it’s important to keep the lace as tight as possible.
9. When you have the lace through the holes of the section you’re working on, tie another over-hand knot at the end of the lace. Adjust the knot so that it’s a snug fit against the glove.
10. Cut off any excess lacing at the end and leave enough lace at the end, so if needed in the future, you can always re-tie it again should it become loose. You can always trim off more lace after you have tied the knot.
11. Repeat these steps while working on other sections of the glove.
12. Marvel at your work. Dream of all the outs you and your glove will soon make together!
Play Ball!


